
Burn marks on painted walls can ruin the look of your home. They can come from heat sources, candles, or accidents with hot objects. This guide will show you how to fix these problems and make your walls look new again.
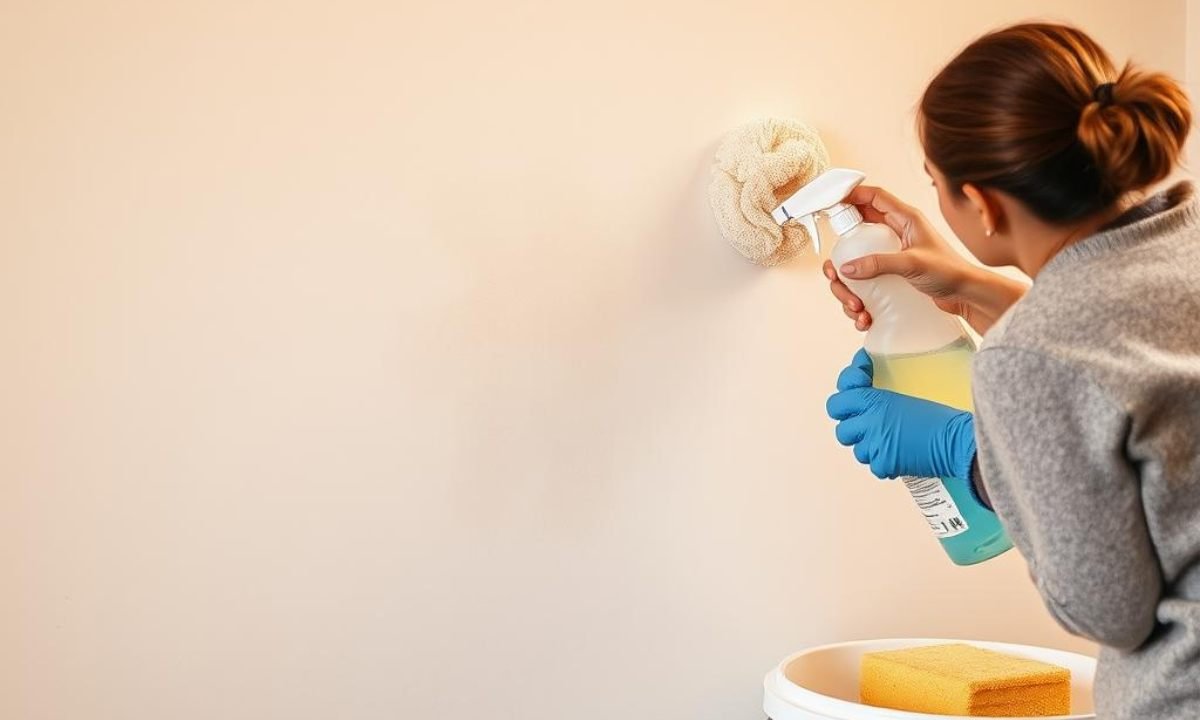
A person carefully applying a cleaning solution to a wall with burn marks, showing a sponge and a bucket beside them, showcasing the difference between the cleaned and uncleaned areas, and warm lighting highlighting the texture of the wall paint.
We’ll cover everything from identifying burn marks to choosing the right tools and materials. You’ll learn about safety, advanced cleaning methods, and the best paints for a perfect finish. By the end, you’ll know how to remove burn marks easily and effectively.
Table of Contents
Understanding Different Types of Burn Traces on Walls
Dealing with burn traces on walls requires knowing the different types and how severe they are. From light burns to deep scorch marks, the fix varies a lot. By understanding the causes and the extent of the damage, you can find the best way to remove scorching stains and make the wall look new again.
Light Surface Burns vs Deep Scorch Marks
Light surface burns make the wall look a bit discolored or charred. These happen when something hot, like a candle, touches the wall briefly. On the other hand, deep scorch marks show more damage from longer, hotter exposure. This can harm the wall’s surface and even its structure.
Common Causes of Wall Burn Traces
Wall burn traces can come from many things, like fireplace accidents or hot appliances. Knowing why the wall got damaged helps you clean it better and fix it right.
Assessing Burn Damage Severity
How bad the burn damage is matters a lot for fixing it. You need to look at how deep the burn is, how big the area is, and if there’s any damage to the wall’s structure. This helps you choose the right cleaning methods and any touch-ups needed to fix the wall.
Essential Tools and Materials for Burn Mark Removal
Removing burn marks from painted walls requires the right tools and materials. You’ll need specialized cleaning solutions and repair products. Each item is crucial for restoring your wall’s paint finish.
Start by gathering high-quality cleaning supplies. You’ll need a heavy-duty degreaser, mild abrasive cleaners, and a steam cleaner. These tools help with different burn damage levels. Also, a putty knife or scraper is needed to remove flaking or loose paint.
Next, you’ll need repair materials for gaps or cracks. Spackling compound and sandpaper are key for smoothing the surface. A high-quality primer ensures new paint sticks well. Lastly, have the right paint colors ready to blend the repair with the wall.
With these tools and materials, you can remove charred residue and restore your wall’s paint. Your space will look great again.
Safety Precautions Before Starting the Restoration Process
Before you start fixing your walls, safety comes first. You’ll need good ventilation and protective gear for a safe fix. Let’s look at how to get ready for a safe and effective repair.
Proper Ventilation Requirements
Fixing burn damage can release harmful fumes. Make sure your area is well-ventilated. Open windows, and doors, or use fans to keep the air moving. This keeps you safe from toxic stuff and makes your work area healthier.
Protective Equipment Needed
Wearing the right gear is key when fixing heat-damaged walls. Use a good respirator mask to block out particles. Also, wear heavy-duty gloves and protective eyewear to protect your hands and eyes from debris.
Testing Surface Stability
Check the surface’s stability before starting. Look for any signs of paint or plaster damage. This helps you choose the right cleaning and repair methods for a lasting fix.
How to Remove Burn Tracing on Painted Wall
Removing burn marks from painted walls can seem tough, but it’s doable with the right steps. The first step is to act fast and choose the right method for your burn mark.
First, check how bad the damage is. Light burns might just need a soft clean, while deeper ones need more work. Always be gentle to avoid making things worse.
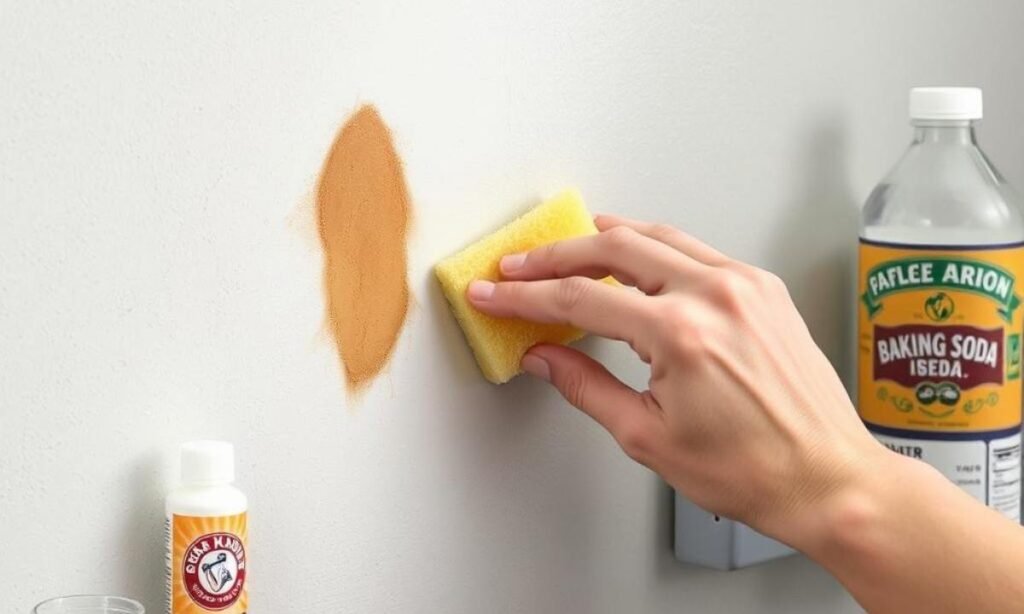
A close-up view of a hand using a sponge to gently scrub a burn mark on a painted wall, with various cleaning supplies like baking soda, vinegar, and water nearby, showcasing the texture of the wall and the gradual removal of the burn trace.
Start by wiping the area with a damp cloth to get rid of loose debris or soot. Don’t scrub too hard, as it can spread the mark or harm the paint. If the mark is tough, use a mild cleaner made for painted walls. Use a soft-bristle brush to apply it, then wipe clean with a damp cloth.
For tougher marks, you might need to sand a bit harder. Use fine-grit sandpaper carefully to avoid taking off too much paint. After removing the mark, clean the area well to get rid of dust or debris before painting.
Once you’ve removed the burn mark, you’re ready to paint again. Check out the next parts of this article for tips on the best paints and how to apply them for a smooth finish.
Advanced Cleaning Techniques for Stubborn Scorch Marks
Dealing with stubborn scorch stains on walls can be tough. Regular cleaning methods might not cut it. You’ll need to try more advanced techniques to get rid of the charred residue and make your walls look new again. Let’s explore some effective solutions.
Chemical Cleaning Solutions
Chemical cleaners can be very effective for deep scorch marks. Look for products with oxalic acid or trisodium phosphate (TSP). Follow the instructions on the cleaner, letting it sit before scrubbing. Be careful and make sure you have good ventilation when using these strong chemicals.
Abrasive Cleaning Methods
Sometimes, you need a stronger approach for stubborn scorch stains. Use a stiff-bristled brush or fine-grit sandpaper to gently buff the area. This can help break down the residue, making it easier to clean. Work in small, controlled motions to avoid damaging the paint or drywall.
Steam Cleaning Options
Steam cleaners are great for tough scorch marks. The heat and pressure can loosen and lift the charred residue, making it easy to wipe away. But be careful, as too much steam can damage the wall. Test the steam cleaner in a small, hidden area first.
When dealing with stubborn scorch stains, be patient and careful. Try different cleaning techniques and products until you find what works best. With the right method, you can remove those pesky scorch marks and make your walls look great again.
Preparing the Surface for Paint Touch-ups
After removing burn marks from the wall, it’s time to get ready for a smooth paint touch-up. Making sure the surface is prepared well is key. This ensures the new paint looks just right with the wall’s color and texture.
Begin by lightly sanding the area where the burn marks were. This makes the surface even and smooth. It helps the new paint stick better and hides any bumps. Use fine-grit sandpaper to avoid harming the paint around it.

A well-lit interior scene showcasing a hand carefully repairing a burned spot on a colorfully painted wall. The focus is on a painter’s tools like brushes, a small paint can, and a roller, with splatters of paint around. The wall features a vibrant design, with the restored area blending seamlessly into the original paint finish. Subtle details of texture and color variation highlight the restoration process in action.
Then, apply a high-quality primer to the sanded area. This primer helps the new paint stick to the wall and gives a solid base for the final coat. Pick a primer made for painted surfaces for the best results.
Before you apply the primer, clean the wall well. Remove any dust, dirt, or leftover marks from removing the burn marks. This ensures the primer and paint stick well.
After the primer dries, you can start painting. Make sure to blend the new paint with the wall’s color. Try to match the texture and shine as closely as you can.
Best Paint Products for Covering Burn Traces
Looking to hide burn marks on your walls? Choosing the right paint is key. This guide will help you pick the best primer, paint, and color. You’ll learn how to make your walls look new again.
Primer Selection Guide
A good primer is vital for covering burn marks. Look for a stain-blocking primer to seal in damage. Oil-based primers are best because they seal better than water-based ones.
Paint Type Recommendations
For the topcoat, pick a paint that’s tough and can handle heat. Latex or acrylic paints are great because they stick well and don’t fade or peel. You can also use specialty paint for high-traffic or heat-prone areas.
Color Matching Tips
To blend in seamlessly, match the new paint to your wall’s color. Take a clean, dry paint sample to your local store. They can match it perfectly, making your walls look fresh and new.
Professional Restoration vs DIY Methods
When dealing with burn marks on painted walls, you have two main choices: hiring professionals or trying it yourself. Each option has its pros and cons. The right choice depends on the damage’s extent and your skills.
For serious burn marks that go deep into the wall, getting help from experts is usually best. They have the right tools and know-how to fix scorch marks well. The painted surface restoration process includes special cleaning, sanding, and matching colors to make the wall look new again.
However, if the damage is minor and easy to fix, doing it yourself might save money. With the right products and effort, you can make your walls look good again. Just remember to be safe and prepare the surface well before painting.
In the end, choosing between professional help and DIY depends on your situation and comfort. Look at the damage, think about your skills, and pick what’s best for your home.
Preventing Future Burn Marks and Wall Protection
Removing burn marks is key, but preventing new ones is just as important. Use heat-resistant wall treatments and keep heat sources away to protect your walls. This way, you can keep your walls looking good and avoid future damage.
Heat-Resistant Wall Treatments
Special paints or coatings can help protect your walls from heat. These products are made to resist color changes and stay strong even when it’s hot. Using them can help prevent new burn marks from showing up on your walls.
Safe Distance Guidelines for Heat Sources
Keeping heat sources far from your walls is essential. Talk to a pro or check the manufacturer’s guide to find the right distance. Following these guidelines helps prevent burn marks from forming on your walls.
Protecting your walls now can save you from future problems. It keeps your living spaces looking great and avoids the need for constant repairs. Remember, stopping the damage before it starts is the best way to keep your walls in top shape.
Troubleshooting Common Restoration Challenges
Fixing walls with burn marks can be tough, but you can do it. The main problem is often stubborn stains that won’t go away. These stains can be hard to clean.
To get rid of tough stains, try a special cleaning solution or sanding. Always test these methods in a small, hidden spot first. This way, you avoid damaging the paint. If stains still won’t budge, you might need to use a stain-blocking primer.
Another issue is when the fixed areas look different from the rest of the wall. This can be hard to fix, but matching colors and blending can help. Try different ways of applying paint, like rollers or sprayers, to find what works best.
Texture problems can also be a challenge. If the fixed area feels different from the wall, sanding or a skim coat might be needed. Using the right paint, especially for busy areas, can also help keep the texture even.
Dealing with these problems might take some time and effort. But with patience and the right methods, you can make your walls look new again. This includes fixing any scorched paint or burn marks.
Conclusion
Removing burn marks from painted walls needs a careful plan. Knowing the types of burns and how bad they are is key. Following safety steps helps fix your walls back to their original state. This guide shows you how to clean scorch marks step by step. You can do it yourself or get help from a pro. The important thing is to act fast to avoid more damage.
Keeping your walls clean and smooth makes your home look better. It also keeps the paint in good shape. By taking care of how to remove burn traceing on painted wall and using painted surface restoration tips, your walls will stay beautiful for a long time.
FAQ
How do I remove burn traces on a painted wall?
To remove burn traces, first check the damage’s type and severity. For light burns, use a mild cleaner and a soft brush. For deeper marks, you might need stronger cleaners or professional help.
What are the common causes of burn traces on walls?
Burn traces can come from many sources. Candles, cigarettes, and appliances too close to walls are common culprits. Even accidental fires or heat from nearby objects can cause damage.
How do I prepare the surface for paint touch-ups after removing burn traces?
After removing burn marks, prepare the wall for touch-ups. Smooth the area, apply primer, and ensure the new paint sticks well to the wall.
What are the best paint products for covering up burn traces?
For covering burn traces, use high-quality primers and paints made for wall repair. Pick a paint that matches your wall’s color for a smooth finish.
Should I hire a professional for burn trace removal, or can I do it myself?
Decide based on the damage’s severity. For minor burns, DIY might work. But for serious damage, a pro can ensure a lasting fix.
How can I prevent future burn marks on my walls?
To avoid future marks, use heat-resistant treatments on walls. Keep heat sources away from walls. Be careful with candles, appliances, and other heat sources.
What common challenges might I face during the burn trace removal and restoration process?
Challenges include stubborn stains, uneven paint, and texture issues. Be ready to solve these problems. If needed, get professional advice for a lasting fix.